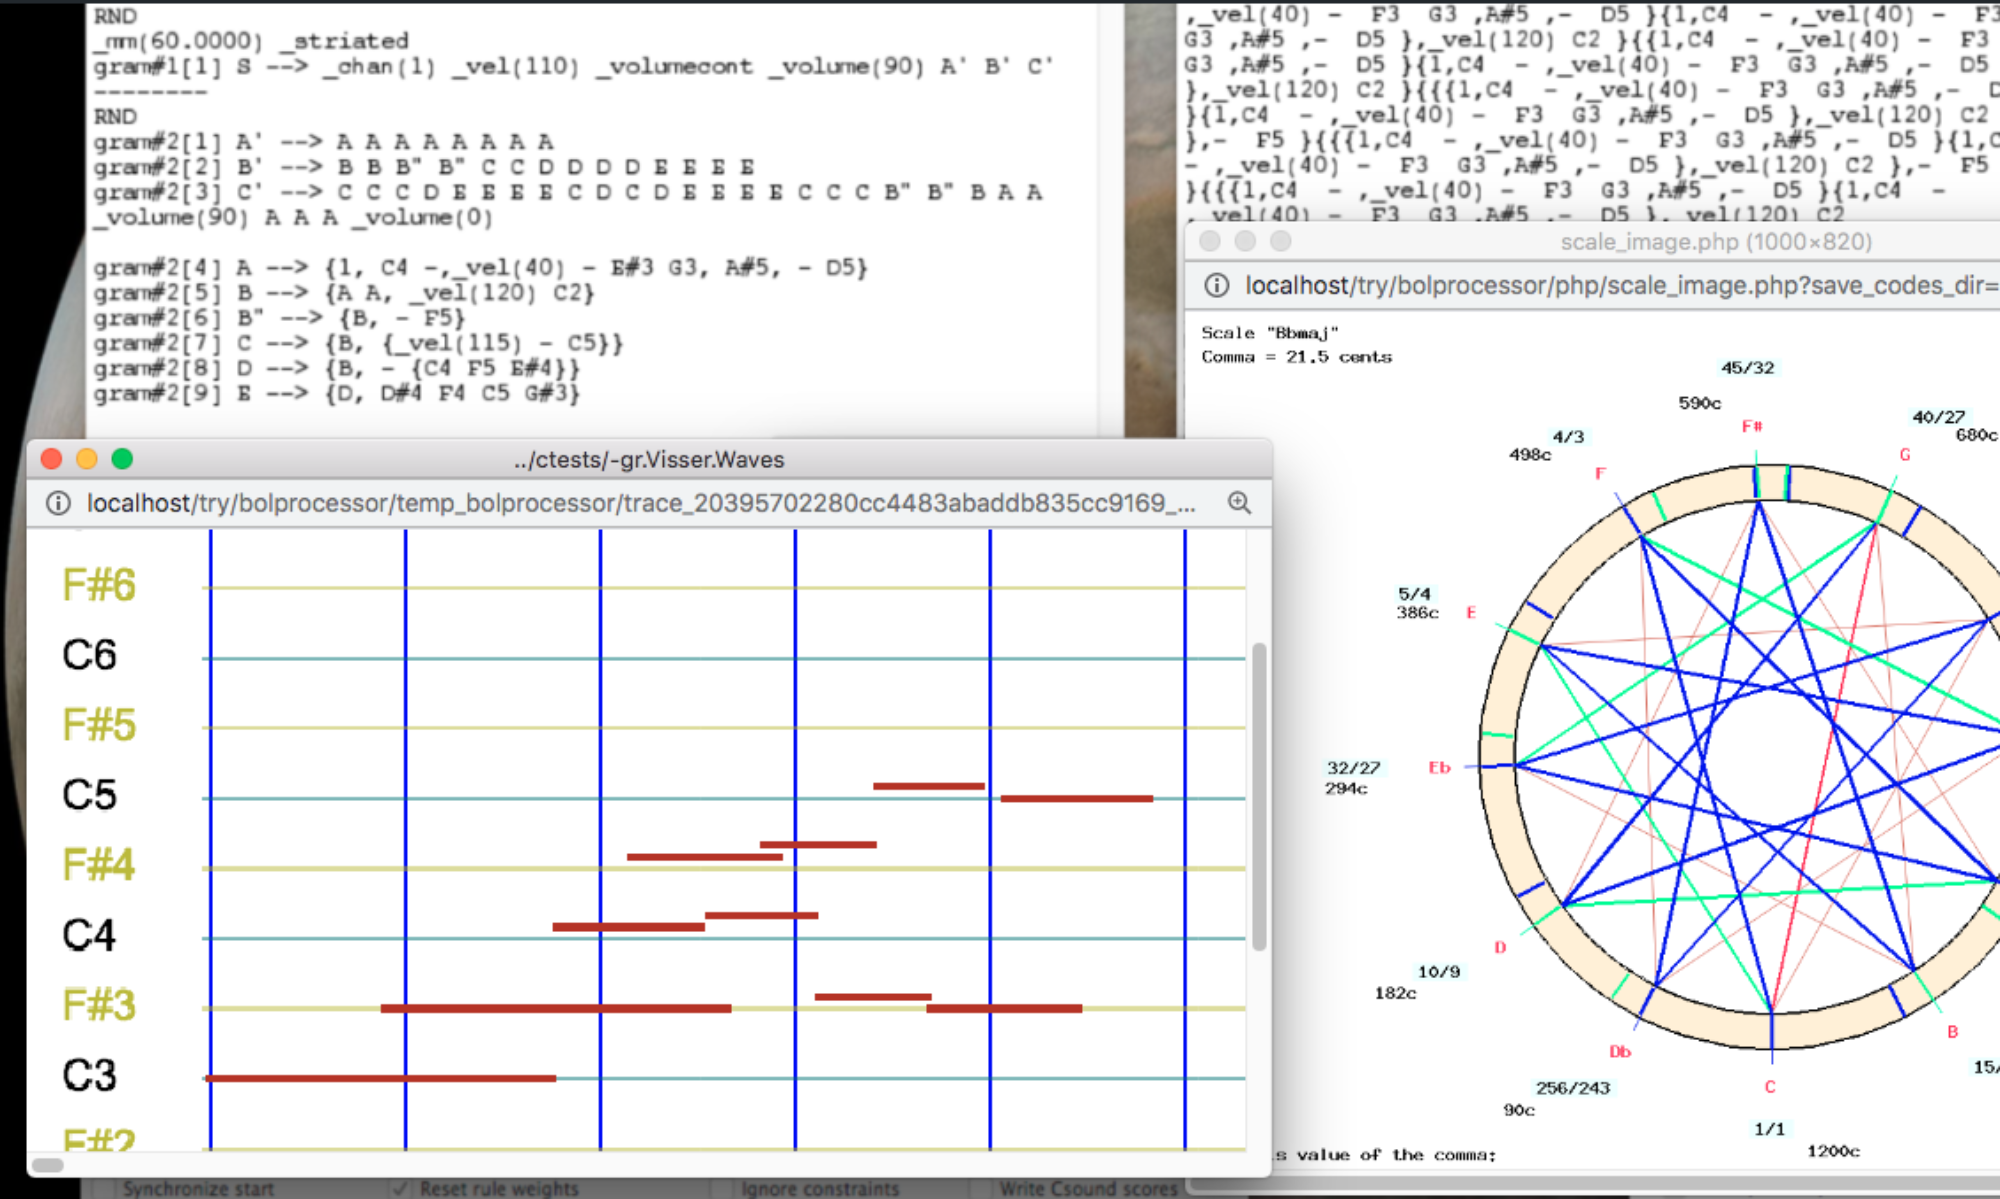
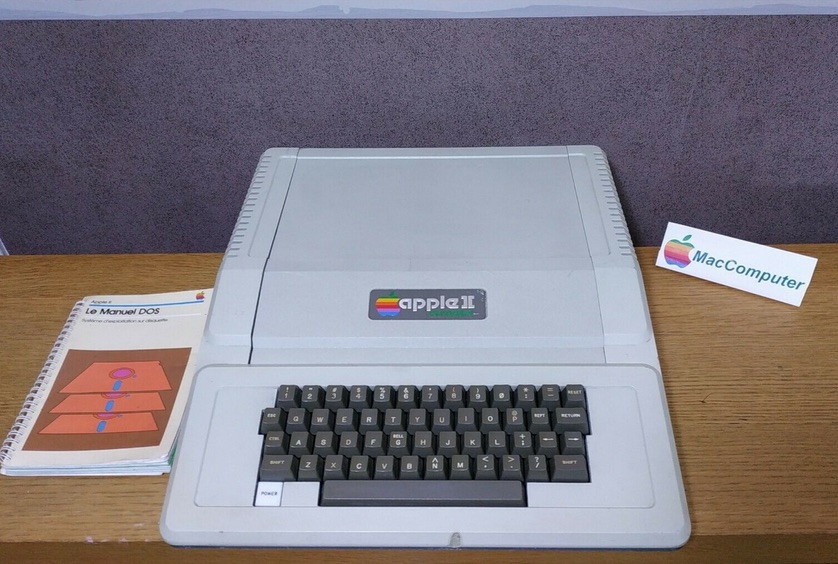
‘BP1’ is the earliest version of Bol Processor implemented in 1981 on Apple II computers… This development was associated with Jim Kippen’s fieldwork in India — read At the heart of Indian rhythms and their evolution.
The name ‘Bol processor’ is analogous to ‘word processor.’ Its development was prompted by the need to type rapidly and accurately transcriptions of North Indian tabla drum's sets of variations, typically expressed in semi-onomatopoeic syllables: bols. The solution lay in the customization of the computer’s keyboard, assigning a single key to every bol.
Bols are onomatopoeic representations of strokes on the drum, or the gestures and movements of Kathak dancers. For instance, ‘dha’ would be assigned to the ‘Q’ key instead of typing ‘d’, ‘h’, ‘a’. With this device, it became possible to type variations of tabla compositions near the speed they were played or recited. This also eliminated the misspelling of symbols and rendered a formal analysis feasible. The next stage of development was triggered by the need for a “search and replace” feature in the Bol Processor. We soon discovered that modelling the theme-and-variations construction involved more than replacing variables with chunks of bols. This construction (qaida in Urdu) was based on implicit rules that could be rendered explicit using formal grammars. Thus, Bol Processor became an expert system able to model the production (modus ponens) of strings of symbols as well as the analysis (modus tollens) of variations created by musicians to assess their compliance with the formal grammar. Furthermore, the repetitive nature of musical structures led to the implementation of pattern grammars. This approach has been described in Kippen and Bel’s Modelling music with grammars: formal language representation in the Bol Processor (1992).
It appeared that keyboard mapping was not possible in 1981 using the then Apple Writer II word processor. Moreover, in a way it was very fortunate because it prompted us to design a tool which for 40 years has gone way beyond the objective of a customized keyboard. We planned to create a bicycle but in the end it turned out to be a spaceship!
Recently we discovered with delight that BP1’s program, source code, compiler and data floppy disks used for this project had been safely stored. After more than 37 years these diskettes were easily copied and transferred to a hard disk in the DSK format with the kind support of Philippe M., a collector of old computers and software in Marseille. This means that BP1 can be run on any Apple II emulator running on MacOS, Linux, and Windows machines.
The source code could even be recompiled to run under better conditions, notably exploiting memory space beyond the original 64 kilobytes – indeed, kilobytes! Currently, even setting the RAM of the virtual machine at 1Mb does not increase the memory space for BP1.
This first article is about installing an emulator and editing grammars/data in BP1. The next one explains the full usage of this program in its original musical context.
➡ For those unfamiliar with the project, Bol Processor (BP2) also exists as a Mac application for system versions up to MacOS 10.14 (Mojave) — read the home page of this site. We are currently developing a new version compliant with MacOS, Linux, and Windows with both 32-bit and 64-bit Intel processors.
Choosing an emulator
So far we have run BP1 on the following emulators:
Given that all these emulators proved satisfactory, we assume that any emulator creating an Apple IIe or Apple IIc virtual machine will do the job. You may therefore install as well:
The setup of any Apple II emulator is roughly the same procedure. In this article we describe it for VIRTUALII with a "limited license" (costing less than 20 USD). Other emulators listed above are free of charge.
Installing a ROM
In Apple II computers, the core system was stored in a solid device (Read-Only Memory) which made it almost impossible to clone these machines. On the virtual Apple II created by an emulator, the ROM is a piece of software which (for commercial reasons) cannot be supplied along with the emulator. You need to download it from an authorized site. The good news is that this is free of charge.
We downloaded ROMS from this site:
https://mirrors.apple2.org.za/ftp.apple.asimov.net/emulators/rom_images/
Download and unzip "apple2_roms.zip". In the "apple2_roms" folder, "apple_iie_rom.zip" and "apple_iic_rom.zip" need to be unzipped to produce APPLE2E.ROM and APPLE2C.ROM. Both are suitable to BP1. No need to create an older Apple II because you would miss 80-column display and upper/lower cases!
Starting VIRTUALII on MacOS makes it clear that a ROM file is missing:
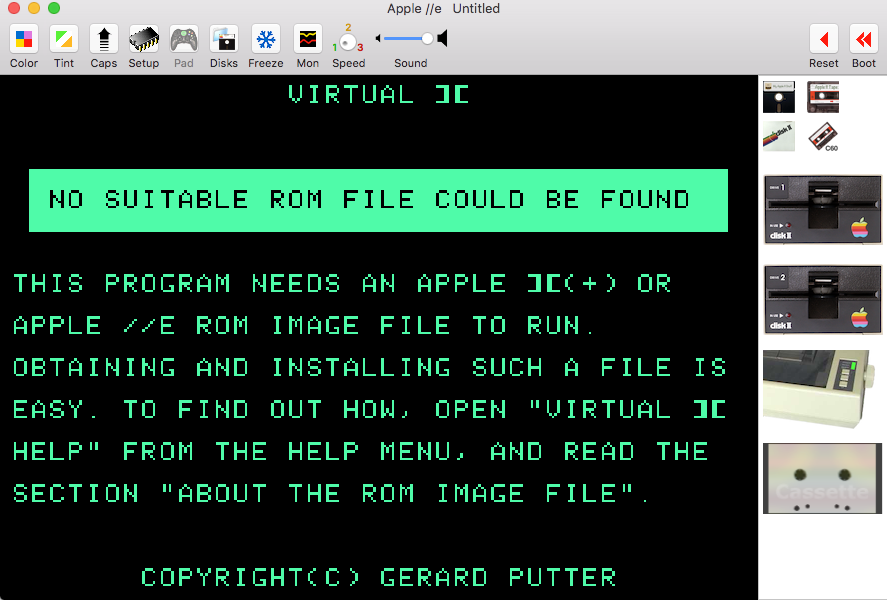
The ROM file(s) you downloaded shall be placed in a specific folder. Select "Show ROM folder" in the "File" menu to open it, then drag APPLE2E.ROM into this folder and restart the emulator. Include APPLE2C.ROM if you plan to emulate an Apple IIc.
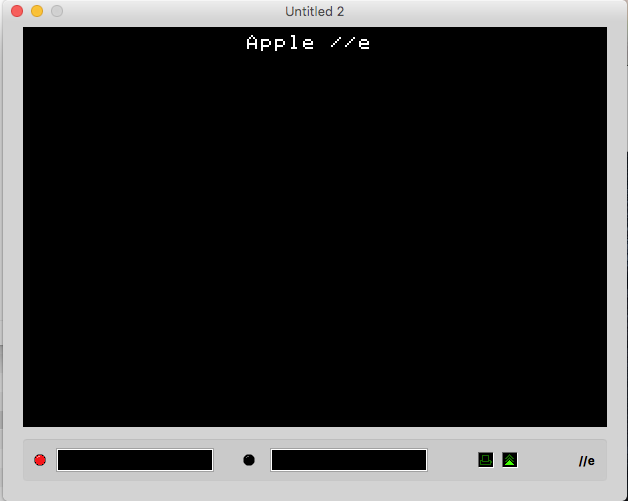
You may need to select "Create a New Machine" in the "File" menu until you get the true Apple IIe startup screen:

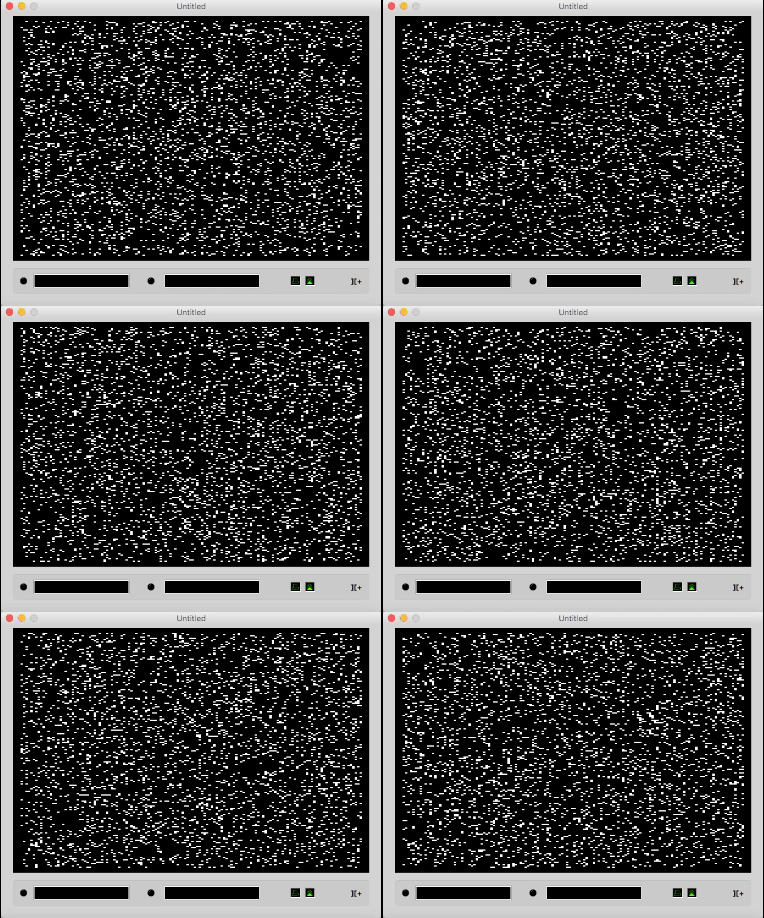
The same procedure applies to CATAKIG emulator on MacOS. An amusing (or irritating) feature, however, is the display of a blank TV screen with white noise. Those born in the age of cathodic television will guess that this indicates the computer has not yet been switched on… No hope finding the switch. 😣 Young geeks will dive into the documentation to find out that it is switched on by hitting the space bar! 😀
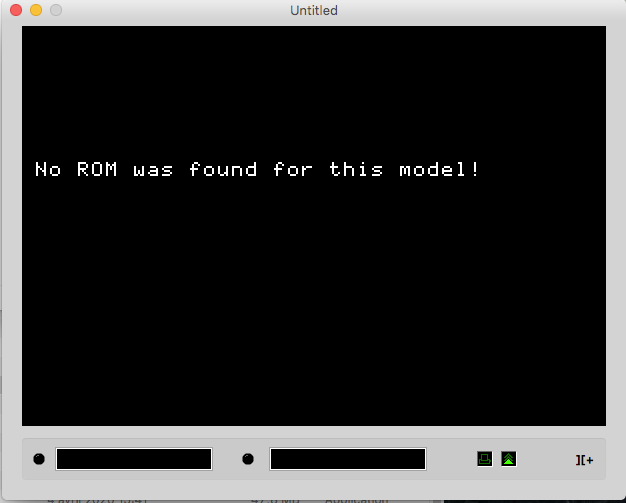
Again you will be told that a ROM file is missing. The "ROMs" folder lies near the application "Catakig.app". Drag APPLE2E.ROM and restart CATAKIG. You still need to hit the space bar and select "New Apple II" in the "File" menu, Choose "Apple IIe"… and once again hit the space bar!
At last, the old good Apple IIe startup screen is displayed:
Setup procedures are probably identical when running emulators on Windows and Linux machines.
All we need now is to "insert a disk"! This is done by selecting "Insert Diskette Image" in the "Media" menu of VIRTUALII, or "Load Disk Drive 1" in the "Peripherials" menu of CATAKIG .
Available floppy disk images
All BP1 floppy disks can be downloaded from this folder:
https://bolprocessor.org/misc/BP1/
- BP-PRG.DSK is BP1's program disk that needs to be inserted first.
- BP-BB.DSK, BP-JULY87.DSK, BP-OCT88.DSK and BELFAST.DSK are grammar/data disks used by the program.
- BPSOURCES.DSK contains the assembly 6502 source code which may be recompiled using BIGMAC.DSK.
Running BP1
Insert BP-PRG.DSK. This will immediately launch BP1. After "Loading DOS in high memory" (which old goats will understand) you get the rewarding message:
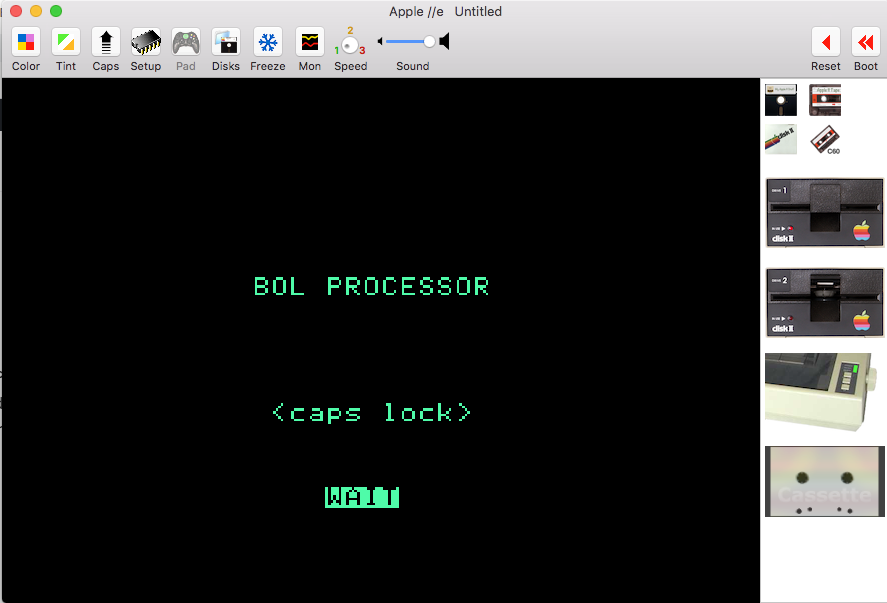
Press the CAPS LOCK key because most commands require uppercase hits.
You are told to "wait"… It really takes time because the emulator is running at the speed of a real Apple II. On VIRTUALII you even hear sounds of floppy disks! Fortunately, all emulators offer the option of running applications at high speed. This is most convenient for BP1 unless you are nostalgic for the squeaks of diskette drives!
Once the disk has stopped spinning you will see:
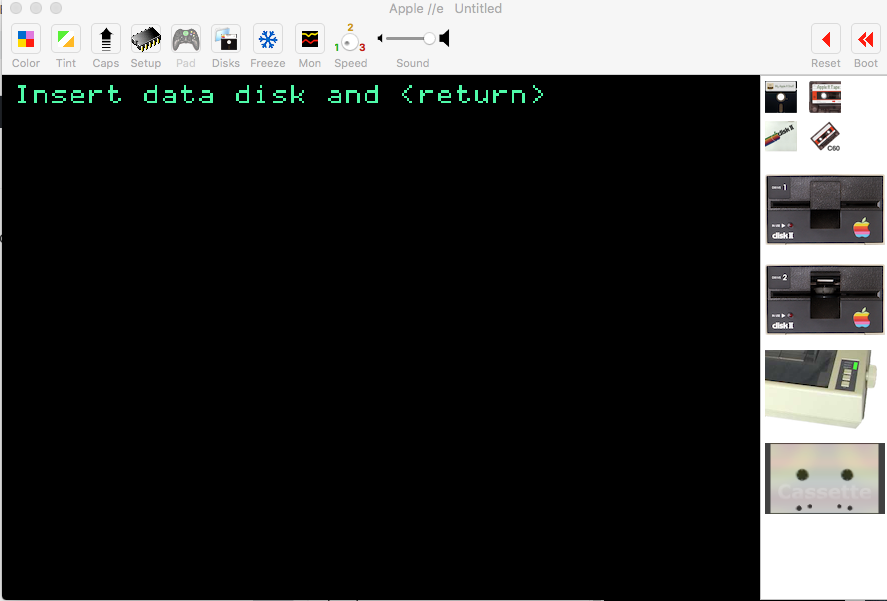
BP1 ran on a single disk drive — the in-built drive of the Apple IIc we used in field research. This means that the entire program stays in memory. So, you can remove the startup disk and insert a data disk. On VIRTUALII you first need to select "Eject Disk" in the "Media" menu to make the first drive available. Once this is done, select "Insert Diskette Image" in the "Media" menu and take for instance "BELFAST.DSK". Then hit <return>… BP1's main menu is displayed:
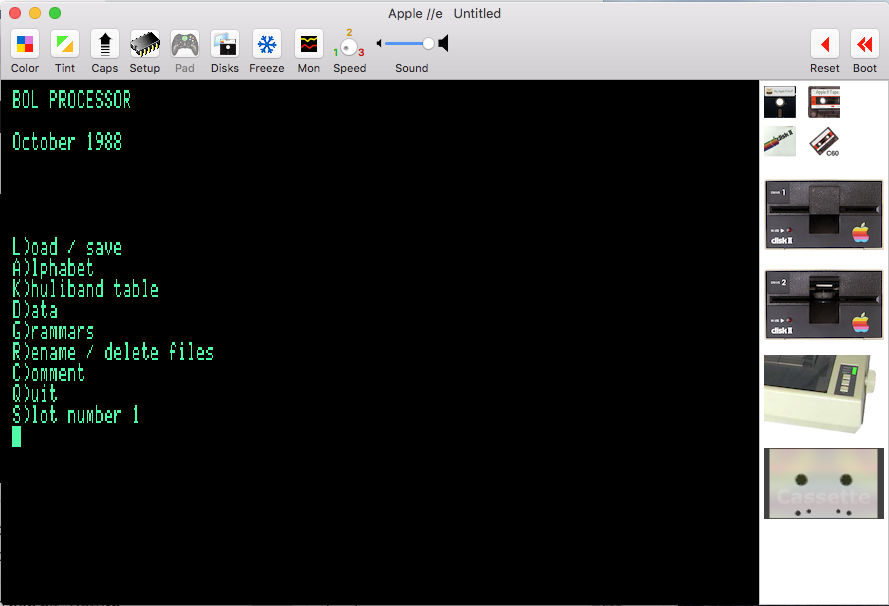
All commands are activated with uppercase keys. The "Slot number" option should remain "1" since we are using a unique disk drive.
We will now visit basic editing commands in BP1. A detailed explanation of its operation as an "expert system" will be posted shortly.
Since a grammar/data disk has been loaded you can hit the "L" key, yielding again Load/Save/Quit options, then displaying the content of the BELFAST disk:
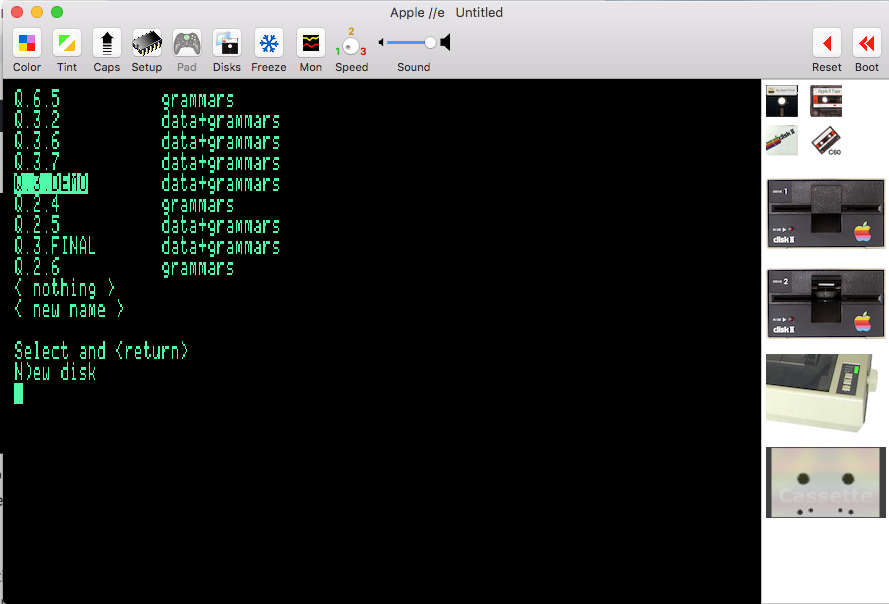
Hit up/down arrows then <return> to select, for instance, "Q.2.4" (grammars). Unless you opted for high speed, it will take some time to read the files… You will be offered the option of loading data. Say "No".
Now the menu is more detailed:
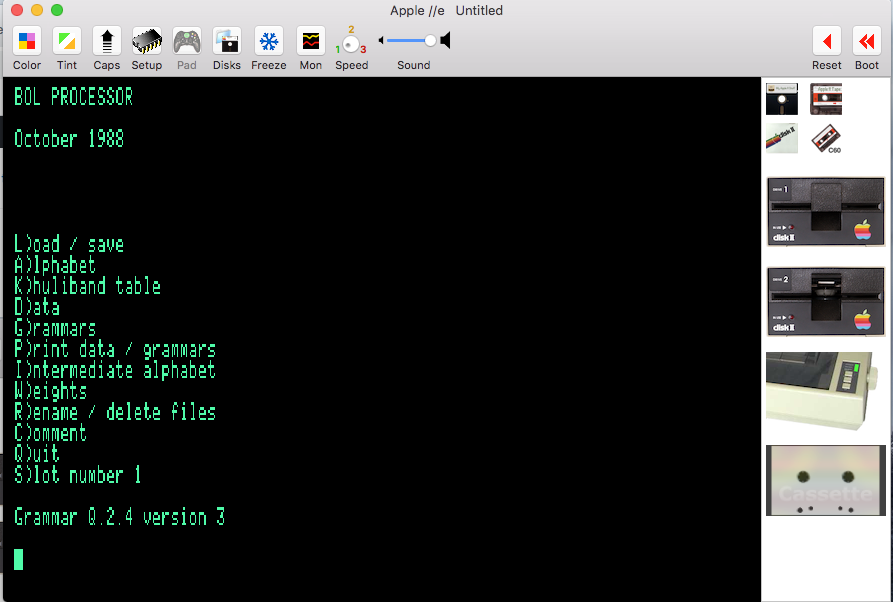
At this stage we will only check how to edit a grammar. Hit the "G" key, then the "down" arrow until "SUBGRAMMAR #3" appears at the top of the menu:
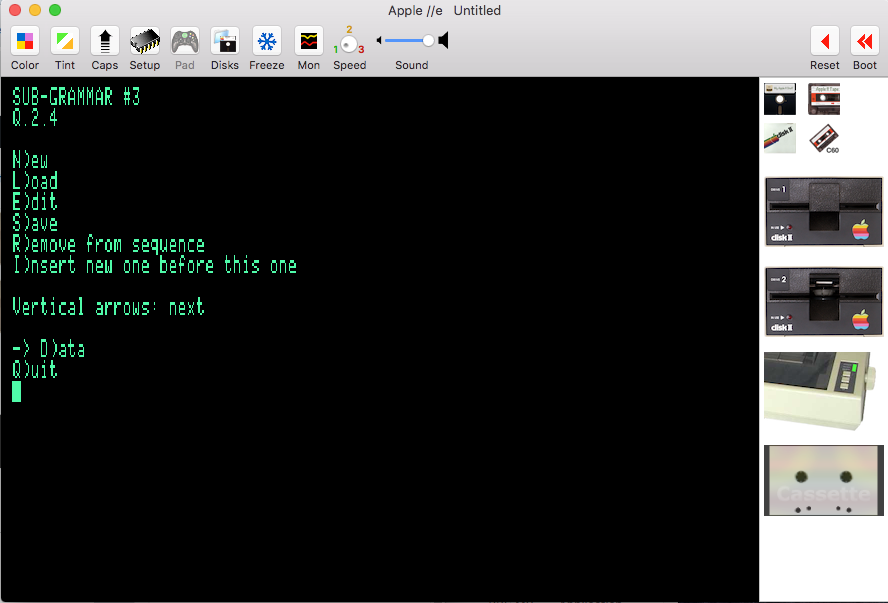
Technical detail: until now we have been running a framework of BP1 written in AppleSoft BASIC language. We will next enter pure 6502 code after hitting the "E" key:
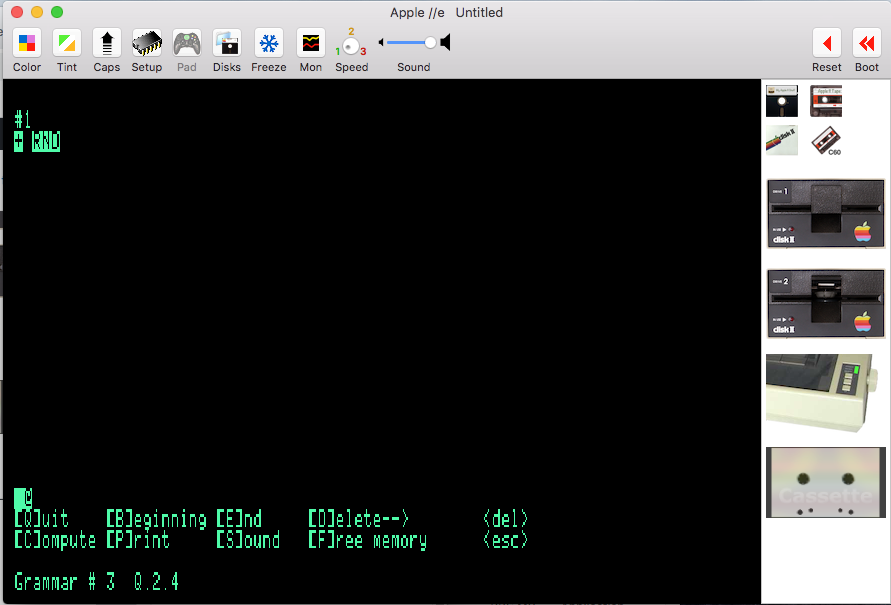
The editor displays one rule at a time. At the top we find the "RND" instruction telling the inference engine that the following rules should be picked up randomly. Hit the "down" arrow to reach rule #14:
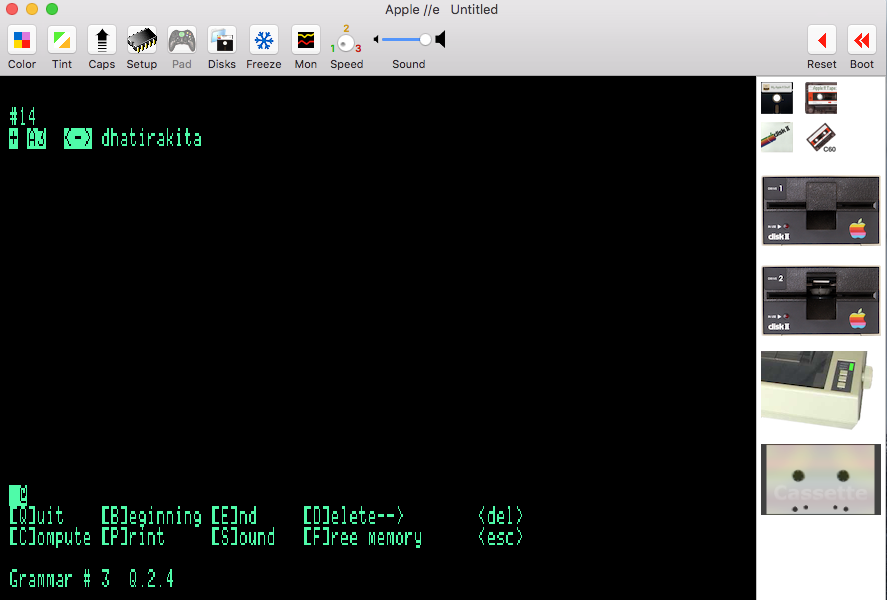
Commands [B]eginning, [E]nd etc. are accessed via the "control" key — leftmost down a Mac keyboard. When using VIRTUALII, all "Print" commands produce a PDF file that can be displayed and exported: click the ImageWriter printer on the right side of the screen.
Left and right arrows move the cursor to insert or delete symbols. Note that the cursor jumps over reserved words and terminal symbols such as "dha", "tira", "kita" etc., which was the initial raison d'être of a Bol Processor:
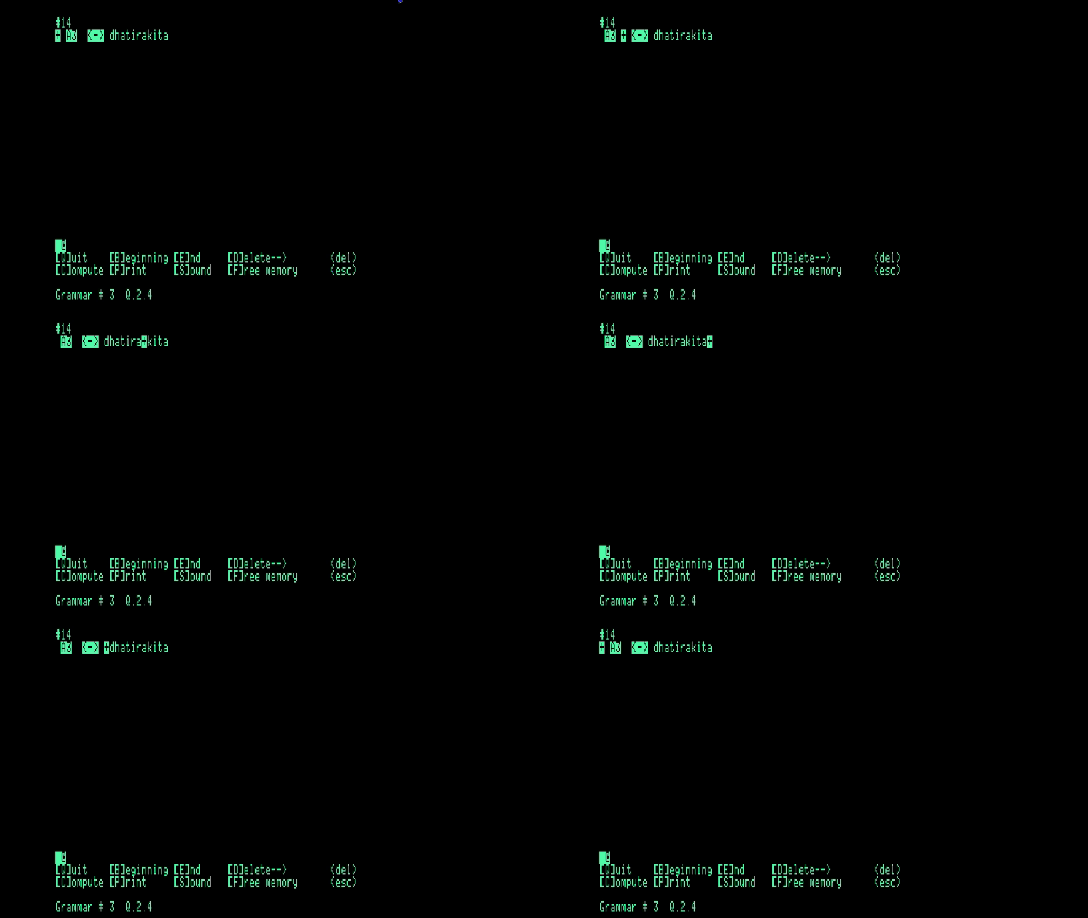
In this example, "A3" is a variable. Variables appear in inverted contrast and are generally displayed in uppercase (though this is not compulsory) whereas terminal symbols are displayed in lowercase with normal contrast. To type a variable, first hit the <quote> key, then type its name and hit <return> or <quote> once again. There was more flexibility in naming variables in BP1 than in BP2 because they were tokenized… For instance:

Since BP1 was first developed on the Apple II (not Apple IIe), it expects only uppercase keyboard input for commands. The "caps lock" key will definitely be helpful to this respect.
Note that typing "Q" in the editor inserts "dha", "Z" inserts "ghi" etc. To see (and modify) the keyboard mapping, first quit the grammar editor (typing ctrl-Q) then "Q" again to return to the main menu. Select "Alphabet", then "Modify":
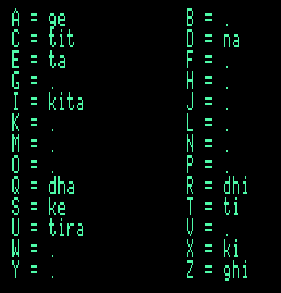
At the bottom of the screen, the "Which key?" message prompts you to select a key and change its mapping. Unmapped keys are assigned a period which is a blank symbol in BP1 syntax. Hitting <return> or the space bar quits the keyboard mapping editor. Mappings can be saved. This makes it possible for instance to assign "dha" to "Q" on an English keyboard and to "A" on a French keyboard. Keyword mapping has no effect on grammars and data. It is only used to facilitate typing.
Now you can try to load "Q.3.2 (data+grammars)" and reply "Y" to "Load data?". Back to the main menu, select "Data", then "Edit/compute". Move down to data #3:
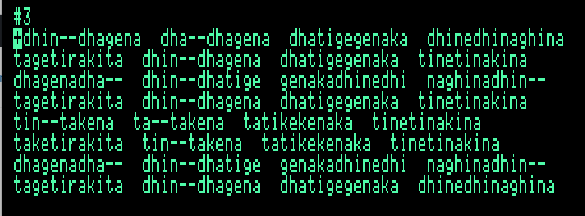
If you are using VIRTUALII, for fun you can check "Speak Text Screen" in the "View" menu. The whole piece will be recited in English pronunciation which has little in common with its rendering by tabla players!
More seriously, note that terminal symbols are chunked and spaced by groups of 6 units reflecting the "speed" of this musical piece. How is this set up? The trick is revealed after hitting the right arrow:

Now the rhythmic and syntactic structure of this item are explicit:
- "6" in the beginning means that chunks of 6 terminal symbols should be displayed. This was called bol density.
- "/4/4/4/4" indicates that 4 chunks should be placed on every line, thereby matching the rhythmic pattern called tintal in India music.
- These rhythmic conventions have been revised in BP2. Today we should write "4+4+4+4/6" instead of "6/4/4/4/4". This is the convention followed in our paper.

- Brackets, diamond signs (◆) and return (↵) signs denote the syntactic structure of the piece. A diamond sign is the marker of a "master" string and a return sign a marker of its "slave" copy. Their association is called a pattern. In printed versions of grammars and in Mac versions of Bol Processor, these signs have been replaced with "=" and ":" respectively.
- The asterisk sign (*) tells that the content of the following bracket is a homomorphic transcription of its master. For instance, the voiced "dhin--dhagena" is reproduced as the unvoiced "tin--takena". Tabla drummers name this transformation khuli/band which means "open" and "closed", referring to the resonance that makes a phoneme "voiced". In BP2, several homomorphisms can be defined on the same alphabet.
- Moving the cursor over the structured piece highlights the reference ("master") string ruling every "slave" copy as shown on the picture below. Changing a "slave" string is impossible as it would break the pattern. There is actually no space in memory for "tin--takena ta--…":

Editing patterns
As shown in the preceding image, strings delimited by brackets can be copied or "mirrored" automatically using "master" and "slave" markers. A string starting with a diamond sign (◆) is a "reference". This sign is produced by default when typing an opening bracket. To create a mirror of this expression, open a bracket and hit the "<" and ">" keys until the desired reference is highlighted.
The reference can be anywhere on the left of the "slave", and it may in turn be a pattern containing other references. In the following example, choice is given to copying "dha--", "dhagena", "dhin--" as well as "dhagena dha--":

If the mirror is a homomorphic transcription of its reference, type "*" before the opening bracket.
Once a pattern has been defined, any modification of a reference expression ("master") is immediately mirrored in its copies ("slave").
Patterns are defined in subgrammars generally at a high level of the structure. For this reason, Bol Processor grammars are a class of pattern grammars.
Pattern editing was a great achievement of BP1's interface. Entirely designed in 6502 machine language, its implementation took more than 3 months full-time, associated with instant memory defragmentation… Memory was a critical limitation: type ctrl-F in the editor to check the few "bytes left"!
Keyboard shortcuts
Keyboard shortcuts depend on the computer settings. The following have been checked on a Mac French (AZERTY) keyboard:
- ORD is entered as alt+/ or "ORD"
- RND is entered as ¨RND"
- LIN is entered as alt+j or "LIN"
- <-> is entered as alt+,
- <-- is entered as alt+c
- --> is entered as alt+b
- S is entered as alt+i or "S"
- TEM is entered as alt+h or "TEM"
More fun?
Explaining the intricacies of rhythmic and syntactic patterns of tabla compositions is beyond the scope of this article. Read for instance Kippen and Bel's paper for a detailed presentation of Bol Processor referring to the musical context of drum players. We hope that this introduction will be sufficient for mastering the editing procedures of BP1.
DOS 3.3 commands are documented on this page. After quitting BP1 you may for instance restart it with the command "RUN BOL PROCESSOR", or type "CATALOG" to list the content of the disk.
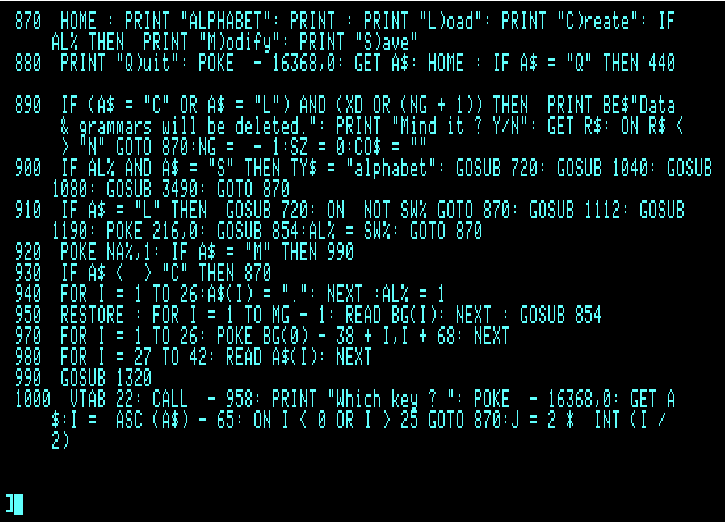
Type "LOAD BOL PROCESSOR" then "LIST" to display the BASIC framework of BP1. For instance:
Contributors to this article: Bernard Bel
